01
The replacement takes the place of a tile.
At the fixing point, it replaces one roof tile. Its flexible EPDM ends are shaped to the existing tile profile at the top and bottom. The neighbouring tiles are then put back in place.

Universal replacement tile for solar installations
Where the roof hook passes through the roof covering, our formable replacement takes the place of one tile. It is shaped to the surrounding clay or concrete tiles, usually without grinding them. The hook connects the timber structure to the mounting rail.
For building materials merchants and wholesalers.
For solar installers, roofers and timber construction firms.
Made in Germany
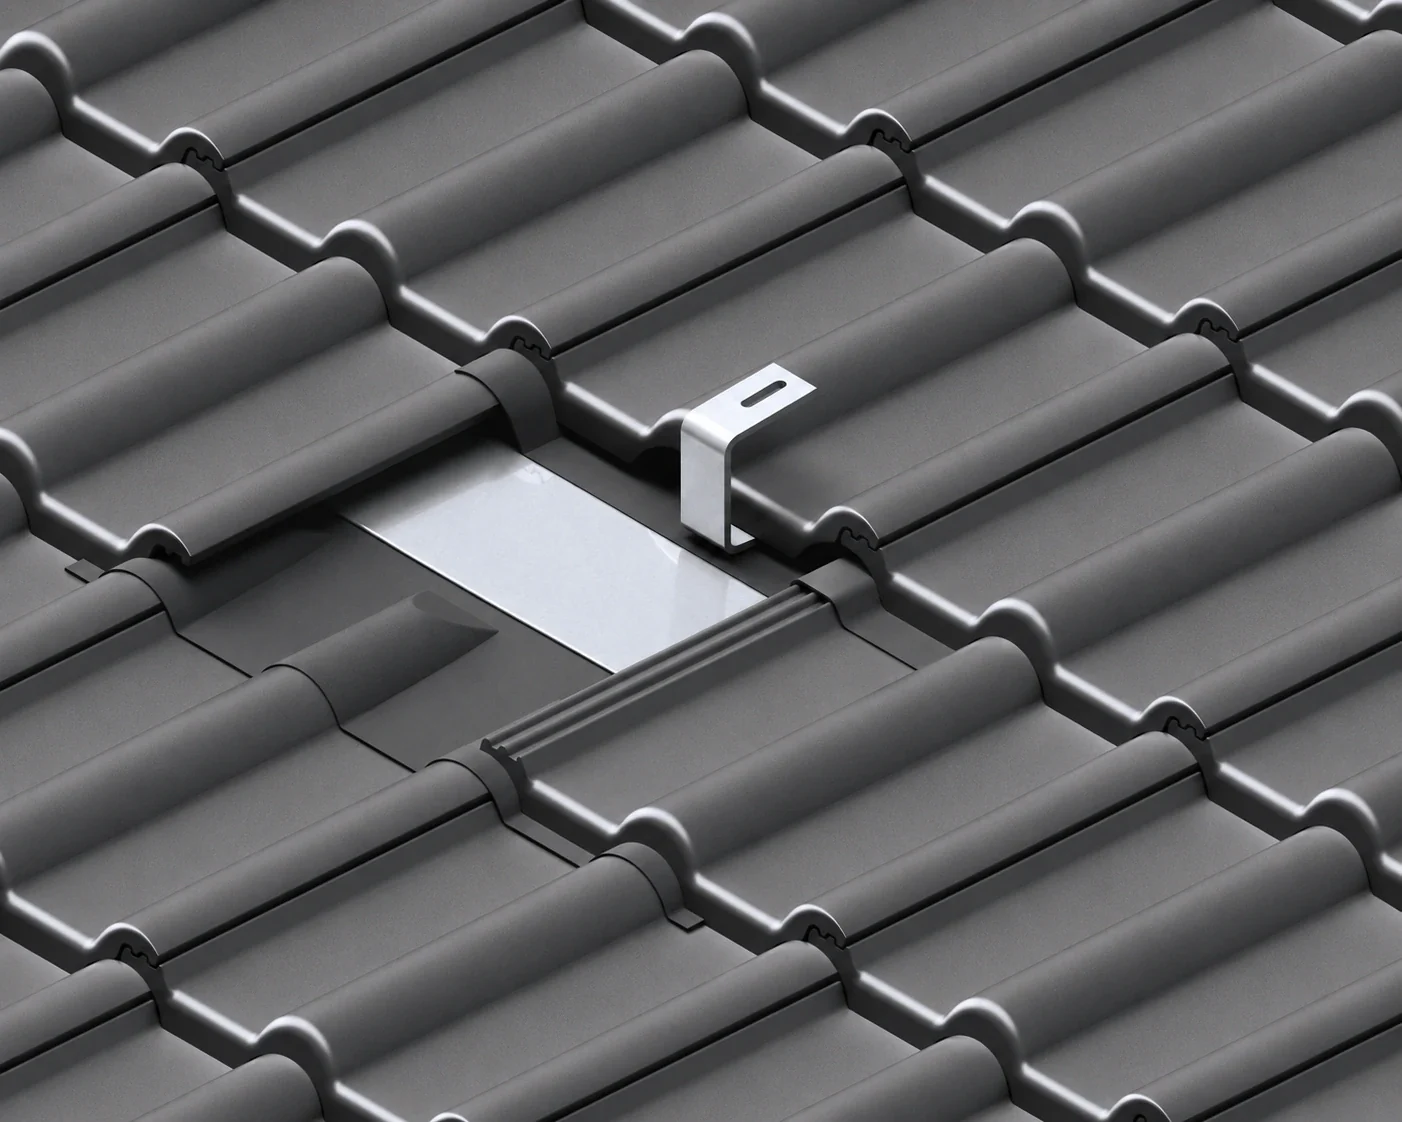
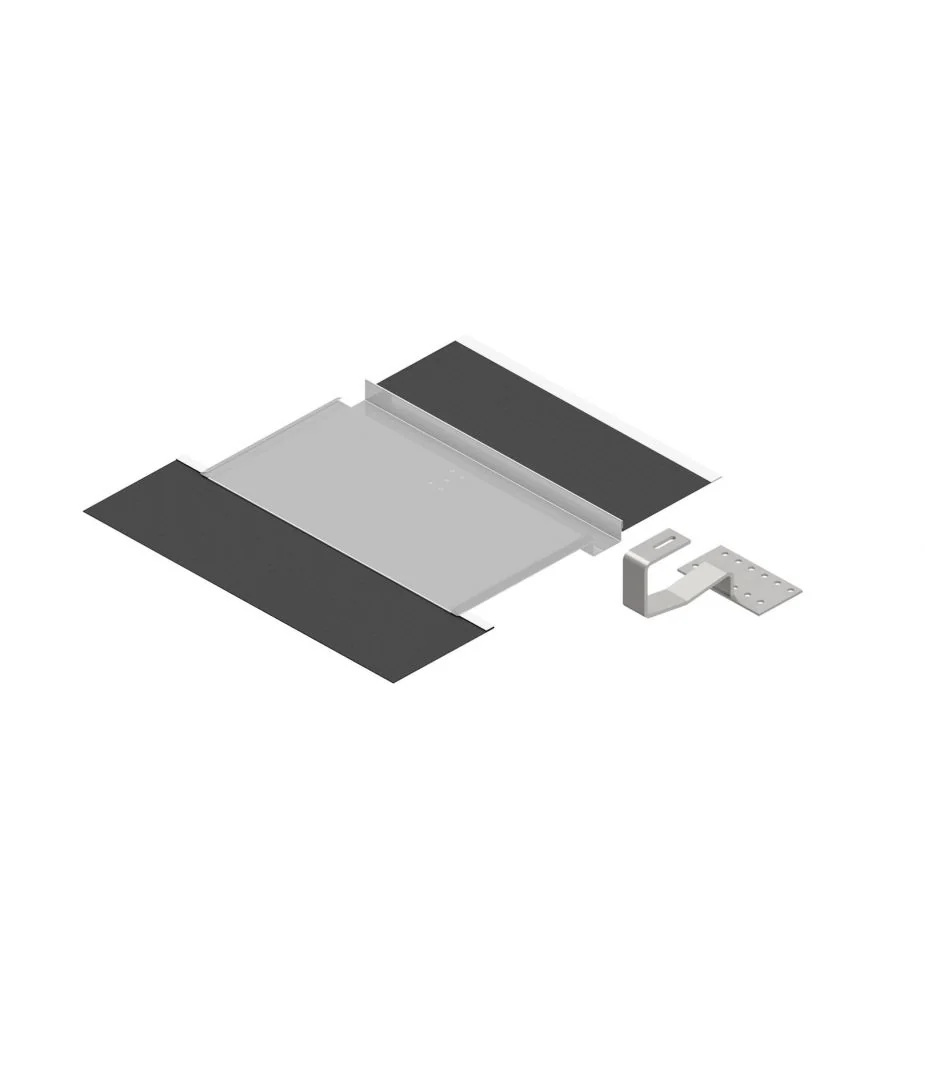
How CLEVER-TILE ® sits in the roof.
See the installationThe connection at the roof
The replacement tile forms the connection to the roof covering. The hook provides the fixing for the solar installation. Together, they create the connection from the roof to the mounting rail.
01
At the fixing point, it replaces one roof tile. Its flexible EPDM ends are shaped to the existing tile profile at the top and bottom. The neighbouring tiles are then put back in place.
02
It is screwed separately into the timber structure and connects it to the mounting rail. The loads pass into the timber, not the surrounding roof tiles.
We supply the replacement tile as a set with the matching roof hook. The roof hook is also available separately.
Depending on the mounting system, the existing tile is cut to accommodate the hook or replaced with a model-specific tile. Our replacement can be shaped to different compatible tile models. There is no need to source a separate replacement design for each of those models.
Normally without cutting or grinding. With some uncommon tile shapes, the upper part is too wide for the intended opening. That area then requires modification.
Installation
The flexible parts are shaped to the existing clay or concrete tiles. The hook is then secured and the covering restored. These photos show the essential steps.
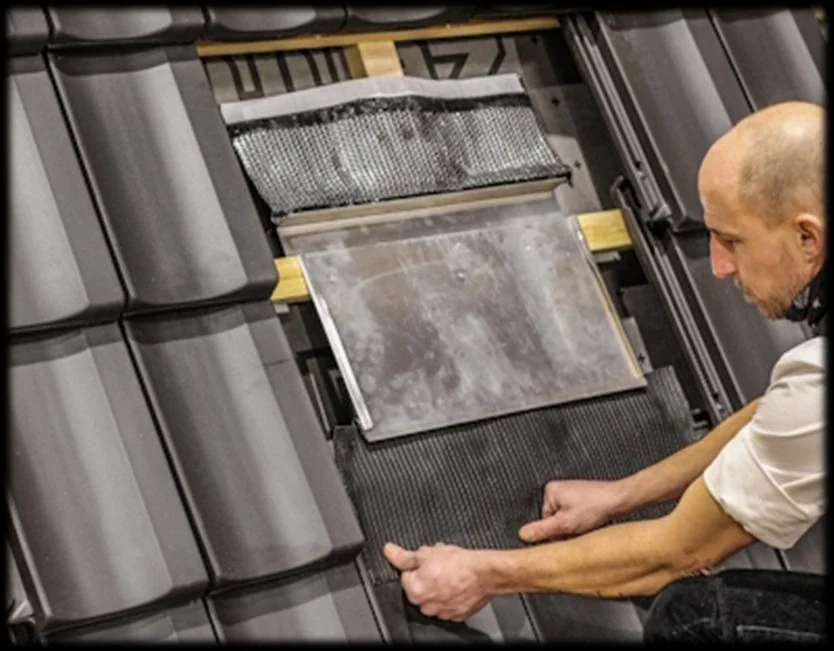
01 / 04
A few tiles are temporarily removed. The replacement goes into the gap. Its rear tab rests on the tile below; after removing the protective film, the lower flexible end is shaped to that tile’s profile.
Only the tile at the mounting point is permanently replaced.
Open this section in the PDF (German)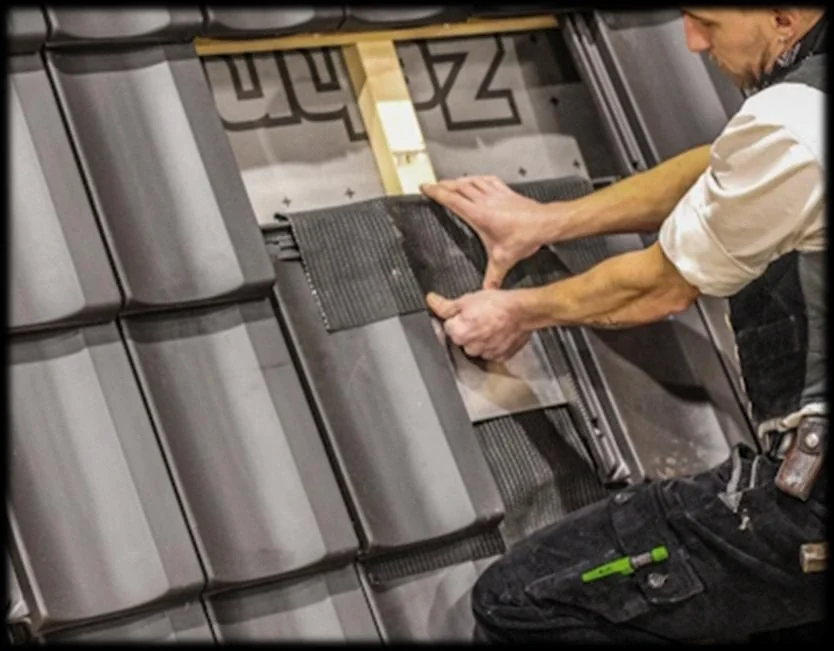
02 / 04
The lower corners are folded up and over, then the side tiles are put back. After removing the protective liner, the upper flexible end is also shaped to the profile of the existing tiles.
These formable ends are what make the replacement suitable for different profiles.
Open this section in the PDF (German)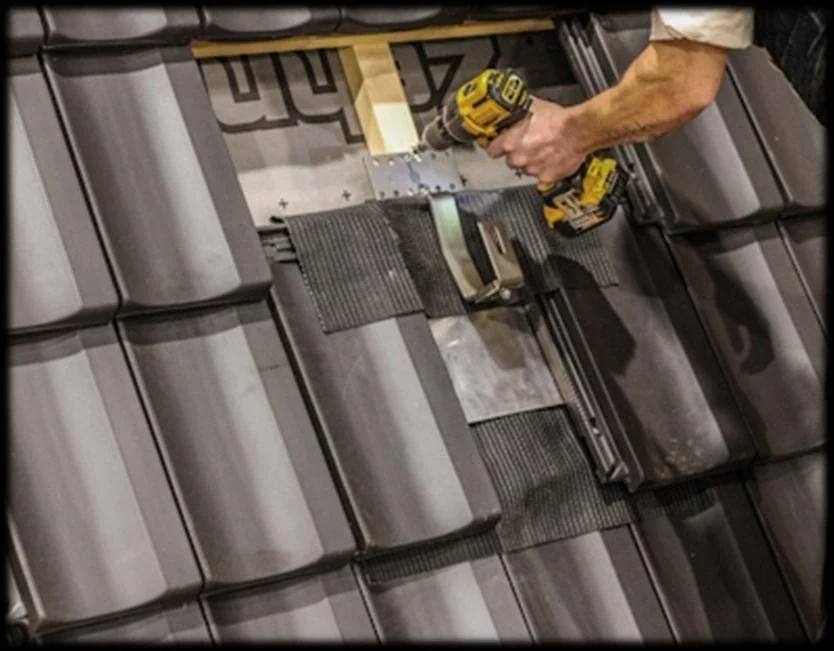
03 / 04
The roof hook is now screwed into the timber structure. It forms the load-bearing connection for the mounting rail. Screws and any height adjustment depend on the roof construction and installation guide.
Solar loads go into the timber structure, not into the surrounding tiles.
Open this section in the PDF (German)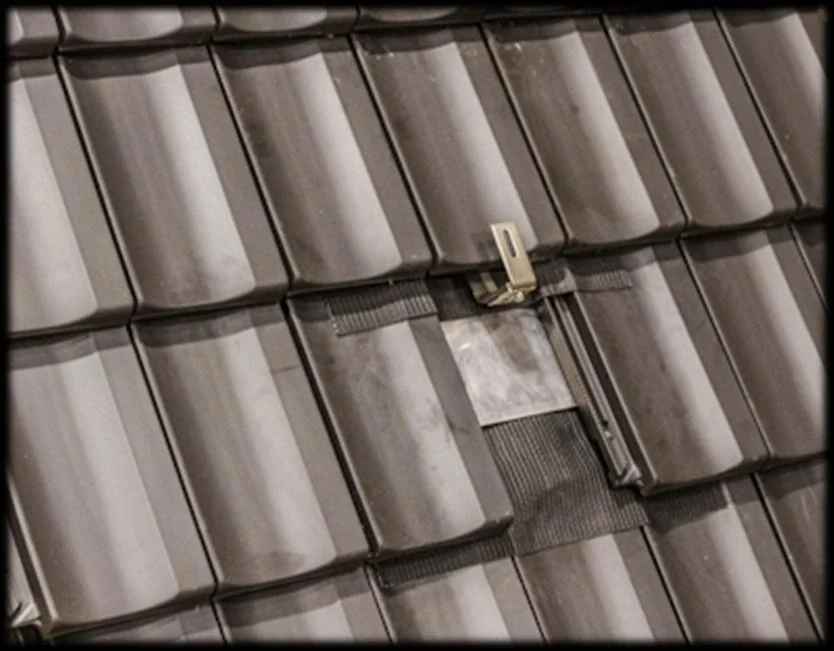
04 / 04
Finally, the remaining tiles are replaced. The replacement tile closes the mounting point. The hook remains accessible for connecting the mounting rail.
The surrounding tiles usually stay as they are – without cutting or grinding.
Open this section in the PDF (German)Our installation guide covers every step and fixing requirement. Please use it as the basis for installation.
Full installation guide (German)The shape of the roof hook
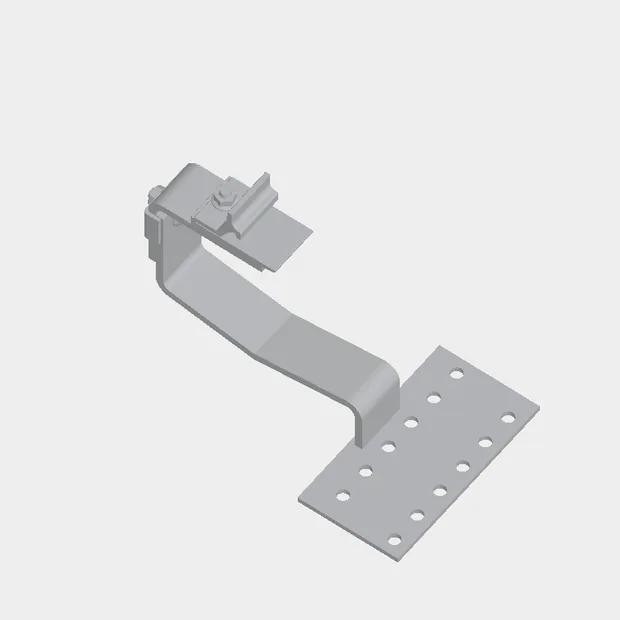
Drag with your finger or mouse to rotate the hook. The view shows one hook variant with an adapter.
 ROOF HOOK
02 / ALSO AVAILABLE SEPARATELY
The roof hook connects the timber structure to the mounting rail. It is included in the set and is also available separately.
Views from original CAD data. This neutral representation does not show a material or colour variant.
Compare the two hook designsThe connection in the roof covering
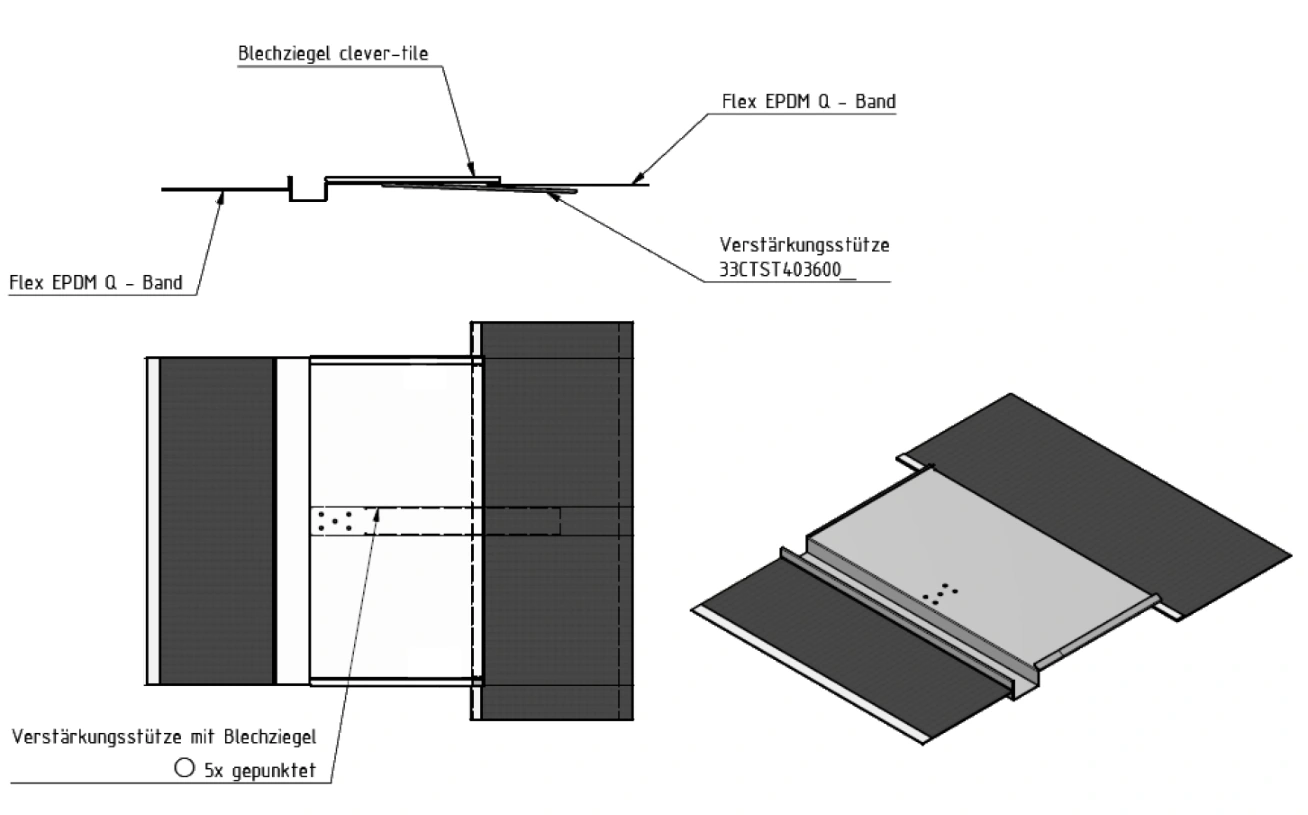
The flexible forming pieces and lateral water folds prevent wind-driven snow and driving rain from entering. The expanded-metal-reinforced EPDM pieces are shaped to the tile profile and bonded using their butyl adhesive strips.
The rear reinforcement tab prevents water pockets and unwanted deformation. It transfers the replacement tile’s own weight to the clay or concrete tile underneath.
Weather protection and reinforcement in the datasheetSupporting the solar installation
The roof hook transfers the solar installation’s loads directly into the timber structure. These loads do not bear on the clay or concrete tiles, avoiding tile breakage caused by that load transfer.
Load transfer in the datasheetOur datasheet states suitability for high snow loads. It does not specify a tested load value. Please contact us about the design for your roof.
Our replacement tiles can also be installed directly above one another.
Dimensions and suitability
Our universal replacement tile is suitable for the majority of roof tile types commonly used in Germany, Austria and Switzerland.
Check the cover dimensions and profile of your clay or concrete tile. If you are unsure, we can help you choose.
Compatibility and exceptions in the datasheetCover dimension means: the area a tile covers when laid on the roof, excluding overlap.
Cover dimensions in the datasheetXL is available on request: up to 330 mm cover width and 391–450 mm cover length. The same roof hooks are used.
Made in Germany
Hook forms and elongated slots: March 2025 datasheet.
For the trade. For the job site.
For compatible tile models, builders’ merchants and wholesalers need to stock fewer model-specific replacement tiles. This can reduce tied-up capital and orders placed for the wrong tile model.
Solar installers, roofers and carpenters can usually avoid milling, grinding and the resulting dust. This saves processing time and avoids the associated damage, rework and liability risks.
Choose products
Replacement tiles with roof hooks, individual hooks and installation accessories: collect everything in one enquiry basket.
View the full rangeThe replacement tile comes as a set. You can also request the roof hook separately.
Add rails, connectors and clamps as needed. Accessories are available separately.
Not sure what you need yet?
Direct to us · no obligation
For your product range or your next roof: tell us what you need. An enquiry is not an order.
Direct to CLEVER-TILE ®
Choose our set, individual roof hooks or accessories.
Your basket is empty. Explore our range and add the products you need.
Explore productsThank you for your message
Find dimensions, materials and installation details in our documents.
Data sheet & installation guideLook up a technical termUsually, surrounding tiles need no cutting or grinding. A few tiles are temporarily removed at the mounting point; our replacement takes the place of one. With rare geometries, the upper part of a tile needs adjustment. Our data sheet explains this exception.
For the majority of tile types commonly used in Germany, Austria and Switzerland. The flexible EPDM ends are shaped to the tile profile. Selection depends on cover width, cover length and tile geometry. Dimensions and further technical information are in our Data sheet.
One adaptable replacement tile covers many common tile models. For compatible models, you need fewer model-specific replacements in stock. This can reduce tied-up capital and orders for the wrong model. A description of your needs is enough for an initial enquiry.
We offer the replacement tile as a set with the matching roof hook. You can enquire about roof hooks separately.
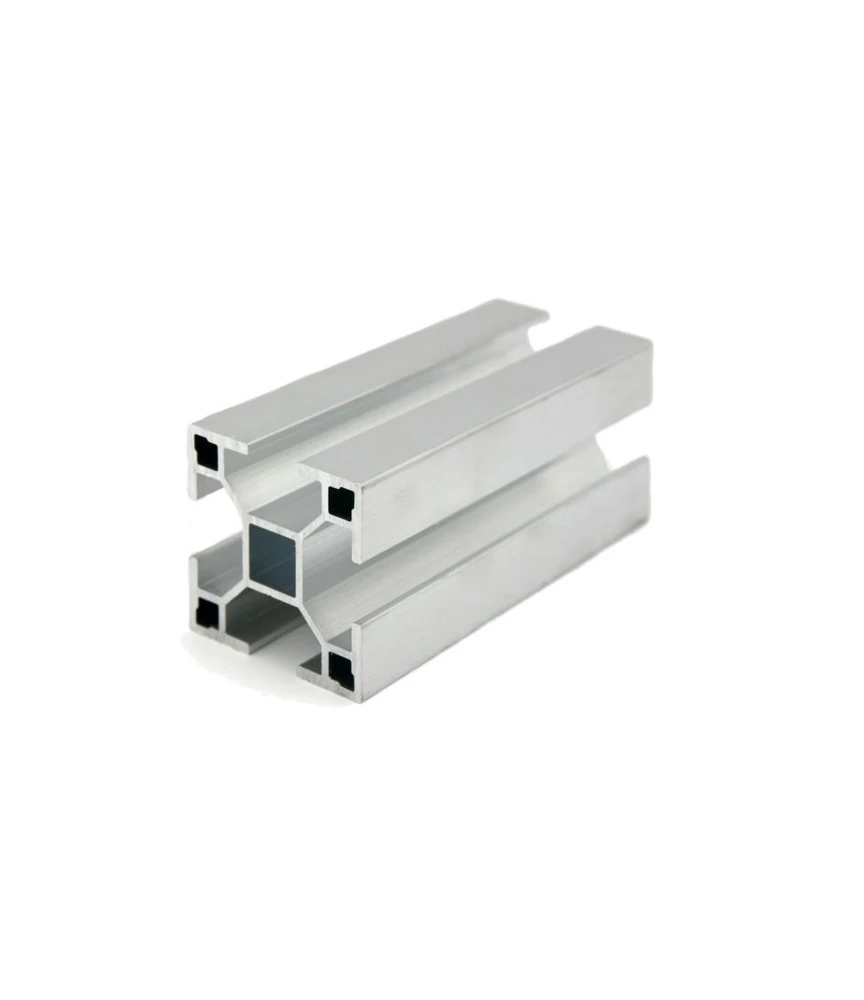
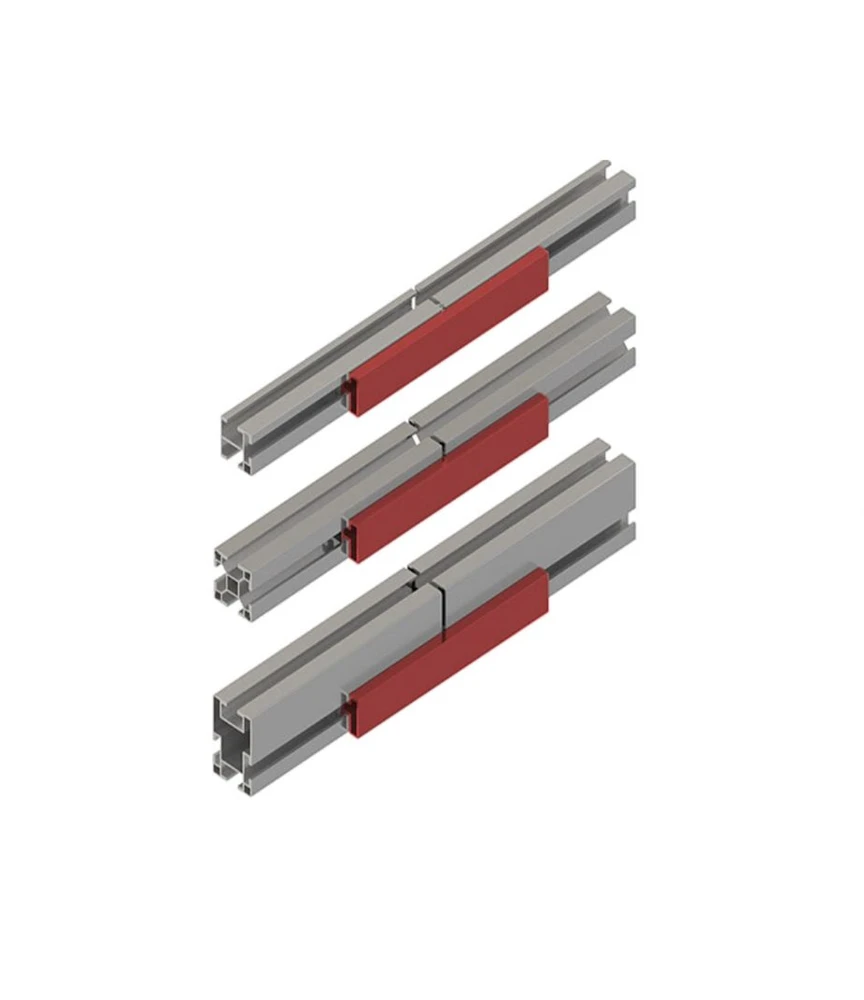
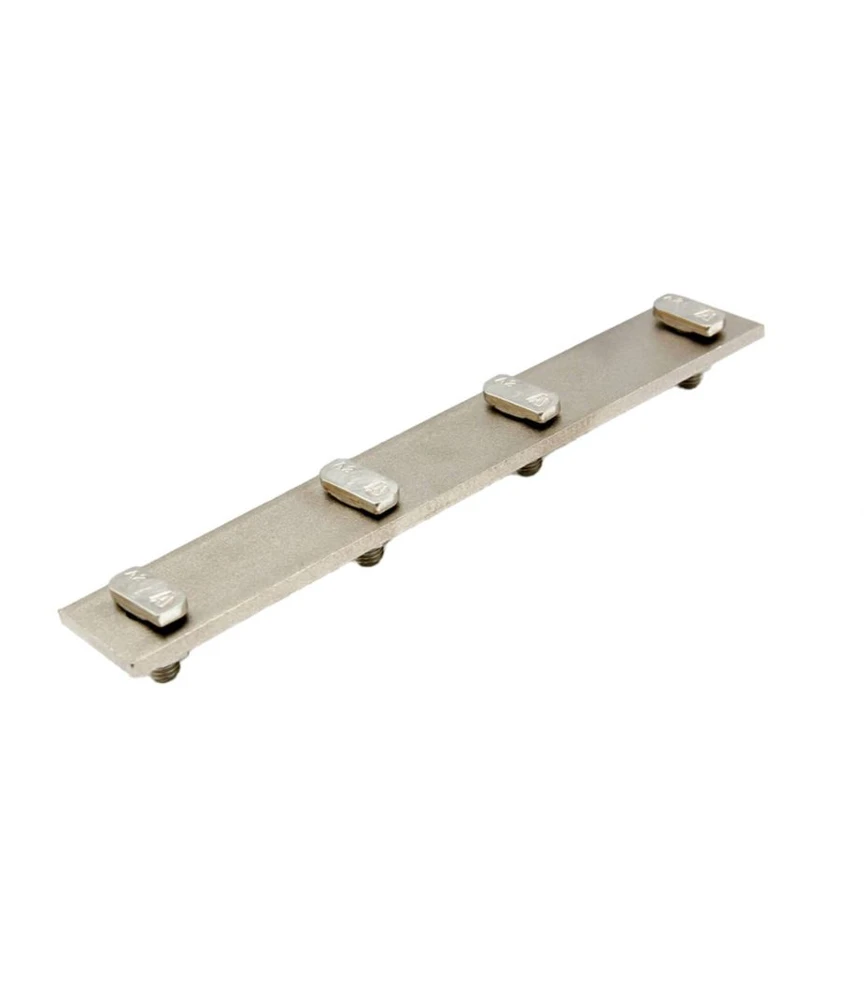
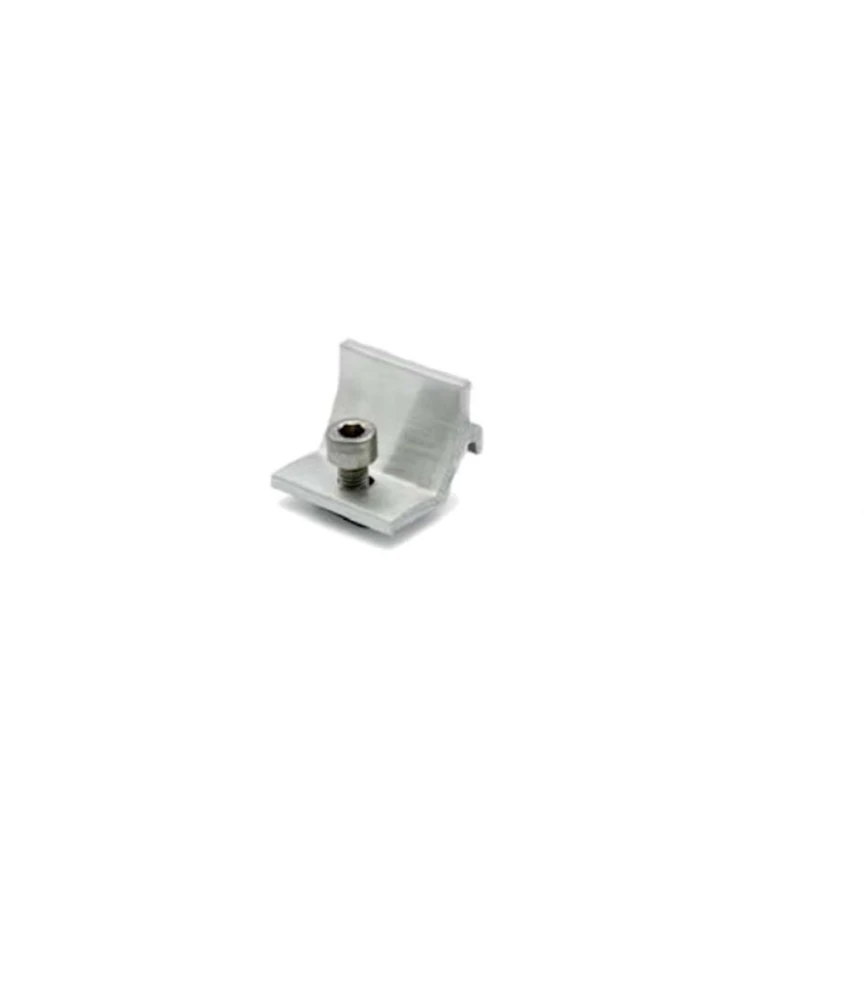
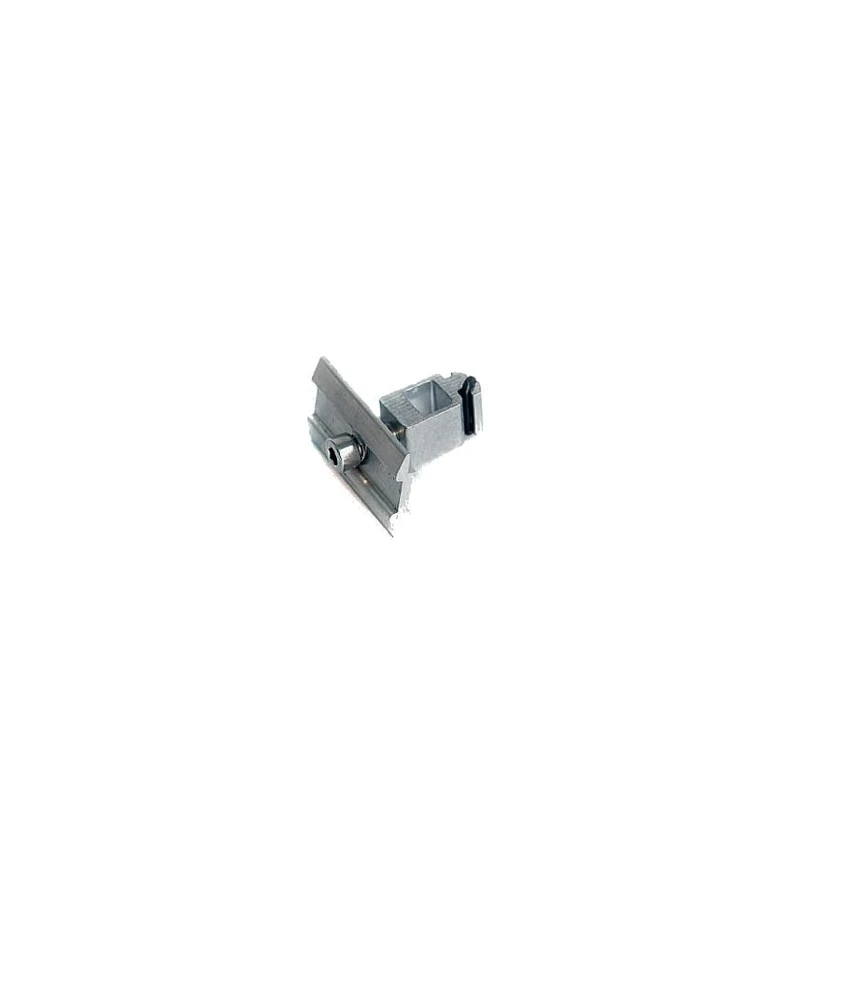
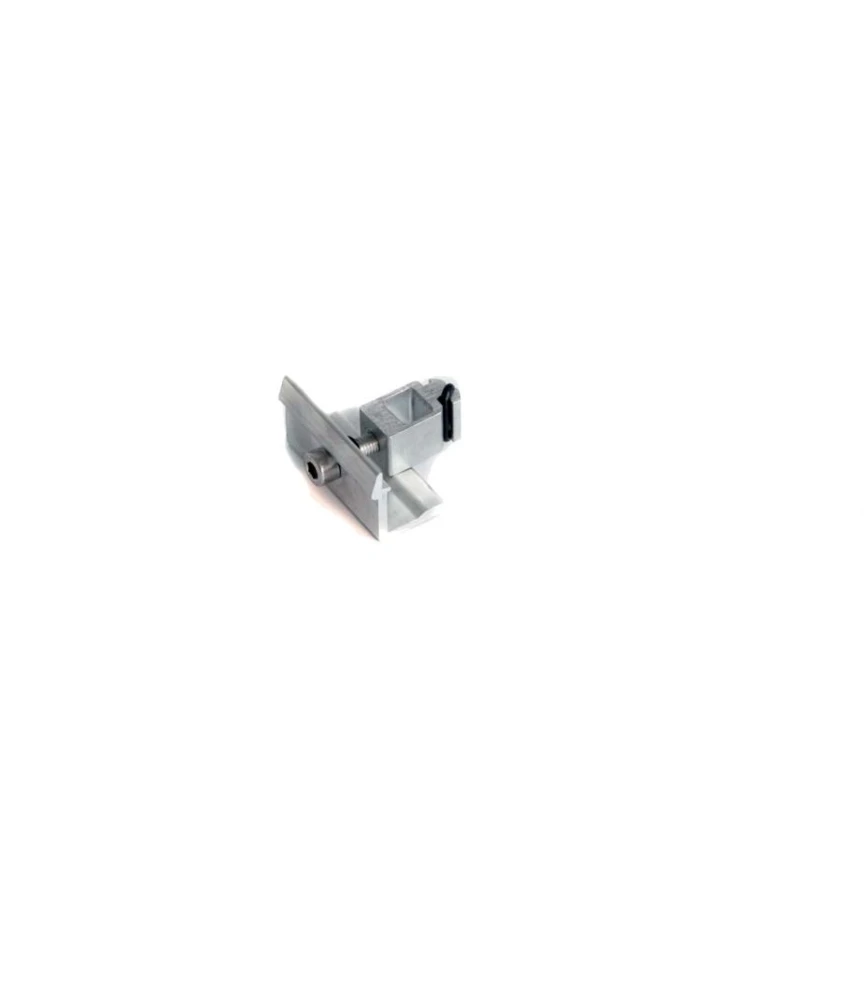
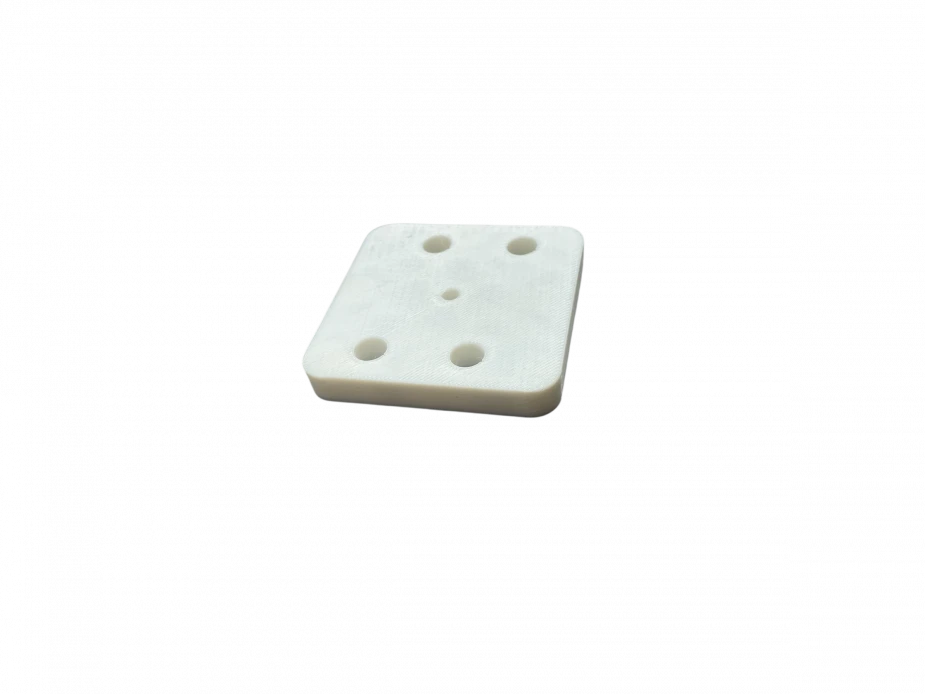
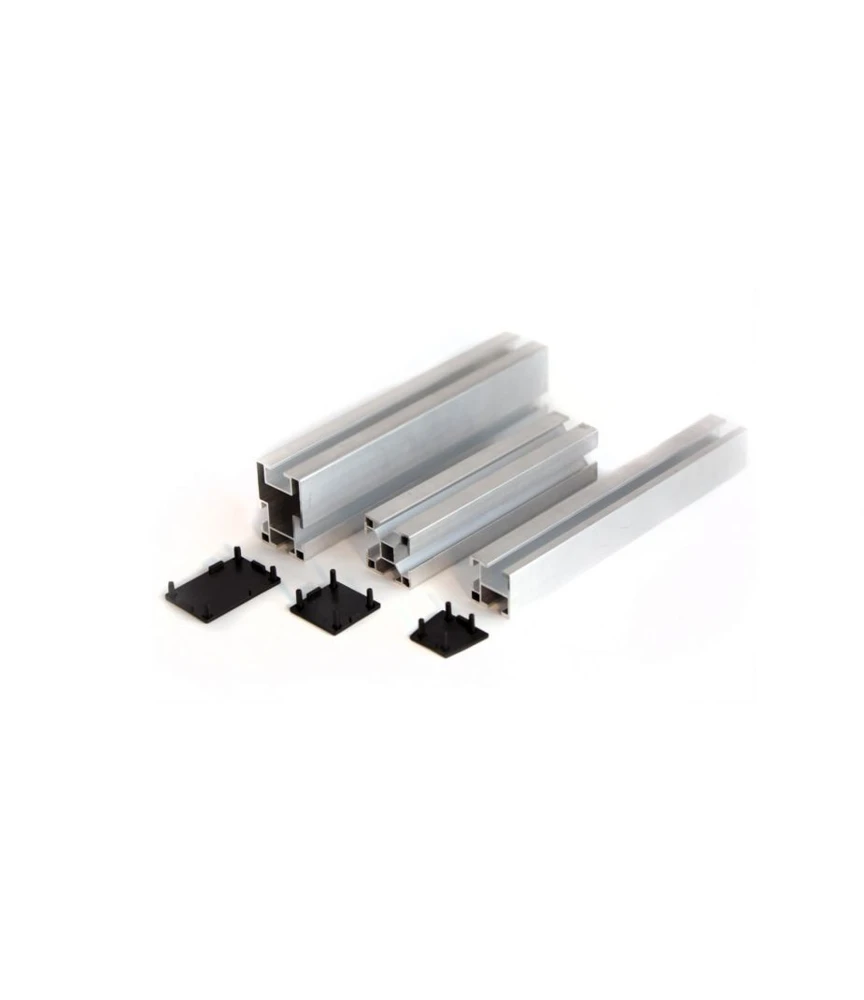
We offer mounting rails, internal rail connectors, four-hole connectors, cross connectors, mid and end clamps, end caps and spacer blocks. Add each item with its variant and quantity to the same enquiry. Accessories are available separately and are not automatically included in the set.
For replacement tiles from other manufacturers, suitability for the particular roof must be checked. Follow the separate guidance in our installation guide and describe the planned combination in your enquiry.
Yes, our replacements can be installed directly above one another. The installation requirements for the particular roof still apply.
We offer two forms: 90° to the roof surface with an 11 mm slot, or parallel to the roof surface and height-adjustable with a 9 or 11 mm slot. These details come from our March 2025 datasheet.
In the PDF installation guide (German). It explains each step and the requirements for roof construction, fixings and substrate. The photo sequence here provides an initial overview.
Please store in a cool, dry place and aim to use within 12 months. If stored for longer, check before installation that the protective liner can be removed easily.
The company
Developed jointly by Zehnder Zimmerei and MarkeTekture.
We’re here to help
Have an installation question, need products for your business or want to stock CLEVER-TILE ®? Get in touch.
Conzelmann Sztur Invent GmbHSUBMISSION CONFIRMED